


A US visitor visa is a tourist visa for the United States of America. It is also known as a B2 visa. This is a nonimmigrant visa that is issued to people who enter the United States temporarily for pleasure, tourism or medical treatment. Any foreign citizen who wants to visit the United States for sightseeing, visiting family and friends, attending special events such as family receptions and weddings, or seeking medical treatment can qualify and apply for a visitor visa.
Brief Facts About The US Visitor Visa
- The visitor visa or tourist visa is also called B1-B2 or B2 visa.
- The visitor visa is subject to approval. You must apply for the visitor visa and have it stamped in your passport.
- The tourist visa is issued only for certain purposes, for example, for tourism, medical treatment, etc. Persons entering the United States on a visitor visa are not allowed to be involved in studies, business or work. If the purpose of your trip is for business, you will need to apply for a US business visa (B1 visa) instead.
- The maximum period of stay in the USA with a visitor visa is subject to the approval of a US port of entry upon arrival. An extension of a maximum of 6 months may be possible, which is subject to approval again. To apply for an extension, you must submit an application for an extension of the visitor’s visa to USCIS and pay a fee.
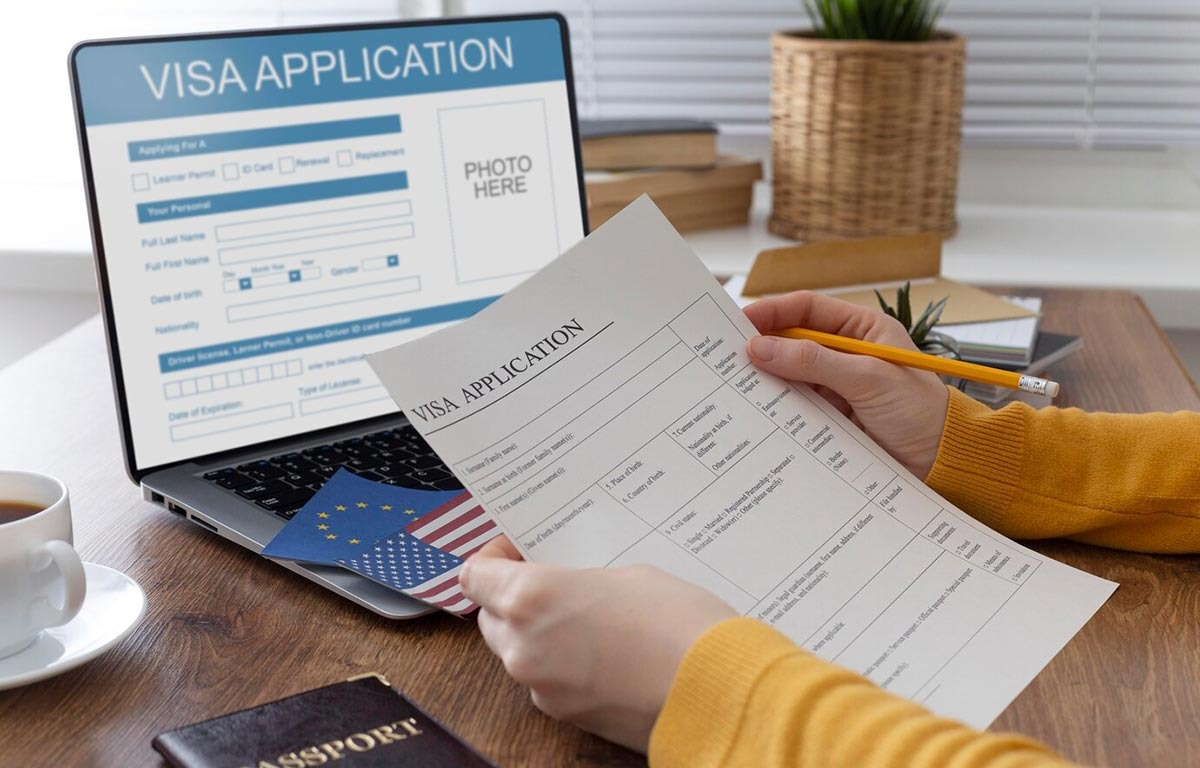
How to get a visitor visa to the USA

Obtaining a visitor visa to the USA requires permission. Each applicant must have a valid passport, submit the application form, pay the required fee and appear in person for the visitor visa at the nearest applicable US consulate in their country.
Step 1: Get a digital photo of each candidate
A digital photo is required when applying for a US visitor visa. The photograph must meet certain criteria. A good photographer or studio can take your photo for exactly this purpose according to the necessary criteria, if you mention that you need a photo for applying for a US visa.
Digital photography must meet the following requirements:
- Digital photography should be a square.
- The minimum dimensions should be 600 x 600 pixels.
- The maximum dimensions should be 1200 x 1200 pixels.
- The image must be colored (24 bits per pixel).
- The image must be in JPEG format (.jpg or .File extension jpeg).
- The file size of the image must be less than or equal to 240 kilobytes.
Step 2: Fill out the DS160 Visitor Visa Application Form

A visitor visa application (Form DS160) must be completed online. You can fill out the application here.
After successfully completing the application, you will receive a confirmation with a 10-digit barcode. Print out your confirmation page and keep your confirmation number. This is necessary when you make an appointment for your visa interview.
Step 3: Pay the fee for applying for a visitor visa
The application fee can be paid either electronically by bank transfer or in cash at a specific CitiBank or Axis Bank branch located throughout India. To make sure that the corresponding amount is paid and activated on time, first create a profile on the website of the US Visa Service and select the Schedule appointment option. The payment confirmation screen will show you payment options and other details to initiate the payment. The fee is valid for one year from the date of payment. You must make an appointment for your visa interview within one year.
Step 4: Make an appointment for a visa interview

After you have paid the fee, you must make two separate appointments as part of the visitor visa procedure. The two-part nomination process consists of an appointment with one of the five Offsite facilitation Centers (OFC) to provide biometric information including fingerprints and photo, and the second appointment is with the consulate or embassy in your area for a personal visa interview.
Step 5: Fingerprints of the visitor visa at the Visa application receipt Center (VAC)
After making an appointment at the consulate or embassy in your area for a personal interview, schedule your fingerprint appointment at least one or two days before the interview at the consulate. Previously, fingerprints were taken during the personal interview. However, according to the new rules, you will have to provide your biometric information during THE ACC appointment. This measure was introduced in order to reduce the congestion of US consular facilities and speed up the processing of applications. Before the appointment with ACC, make an appointment for your visa interview at the consulate or embassy.
Step 6: Take part in a visa interview at the designated US Consulate
On the day and time of your interview appointment, go to the consulate where your interview is scheduled. Take all mandatory documents and supporting documents with you.
Bring the following to your interview:
- Your passport (and your old passports, if applicable)
- Your photo
- The DS160 confirmation page is stamped at ACC
- Receiving fees for applying for a visa (when applying to a US consulate in India)
- Interview Appointment Letter
- Documents